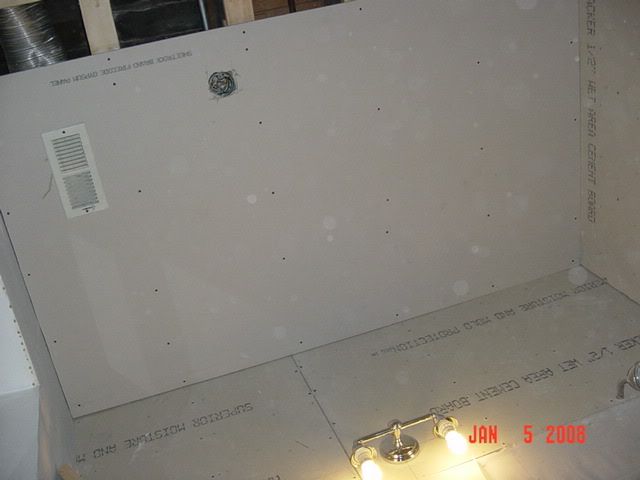
I posted a thread last year about my downstairs neighbor's bathroom remodel that we helped out with. This is the other neighbor's bathroom my boyfriend and I are remodeling.
It's a typical Chicago city 7 x 8 bath.
The plans call for new Kohler jetted spa tub, new Kohler pedestal sink and new Toto dual-flush water-saving toilet. The tile will be blue glass mosaic on the entire wall behind the toilet/sink and tub surround - all the way to the ceiling. The floor will be white marble basket weave with a grey 'dot' pattern.
Here are some
BEFORE and during pics:
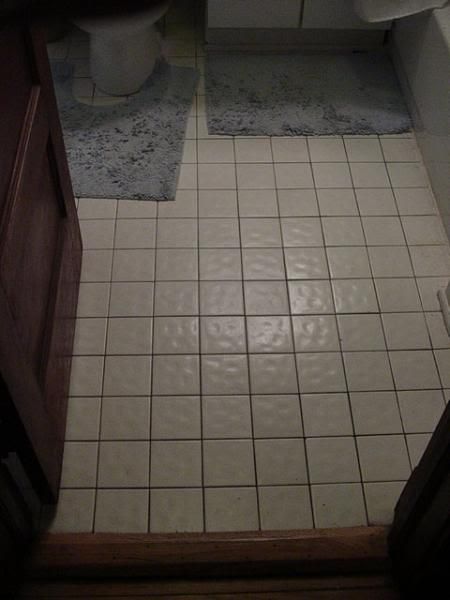
Looking in from the hallway: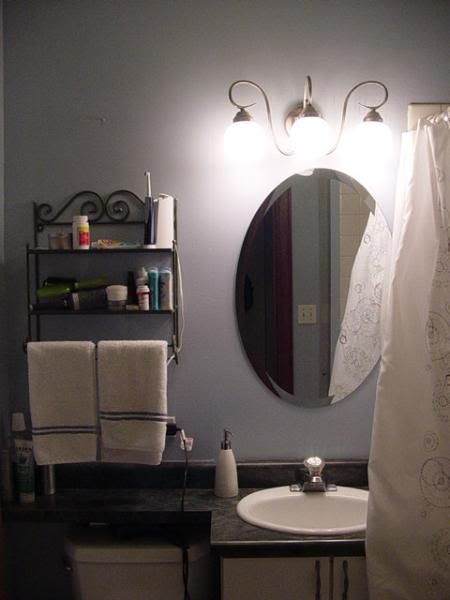
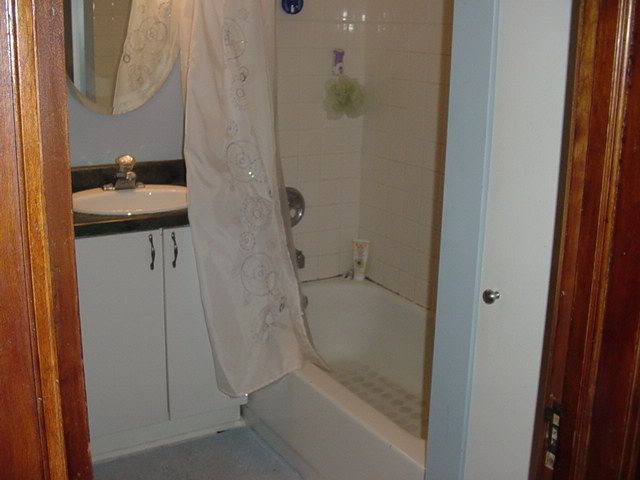
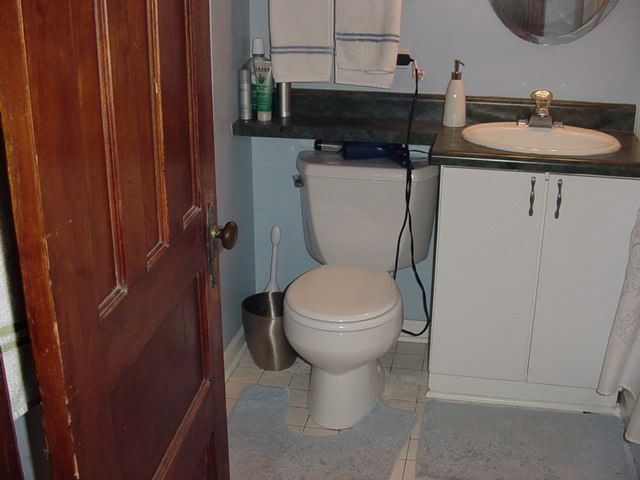
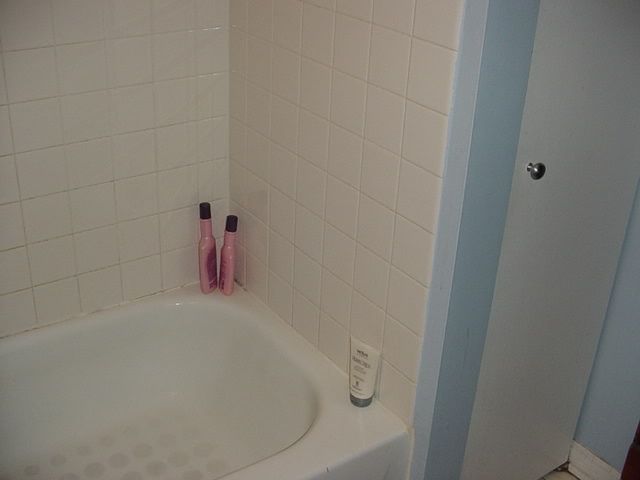
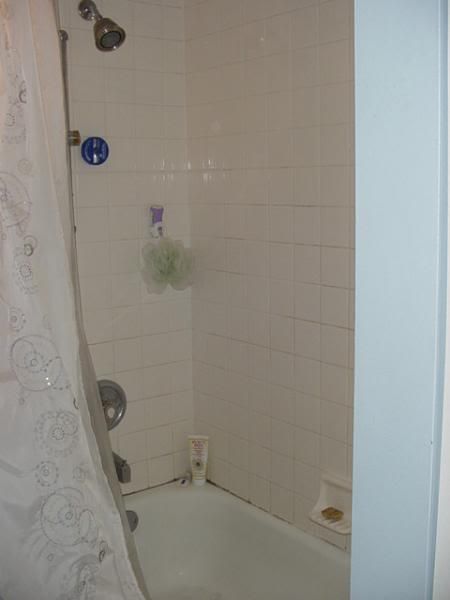
 The old tub and old linen closet:
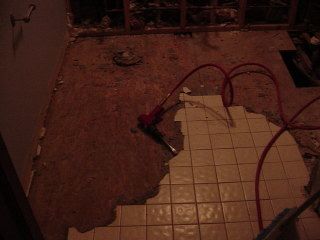
The demo:
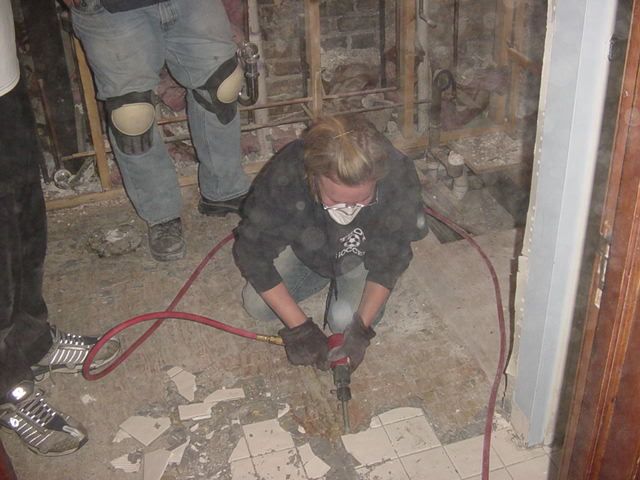
Me on the air-chisel
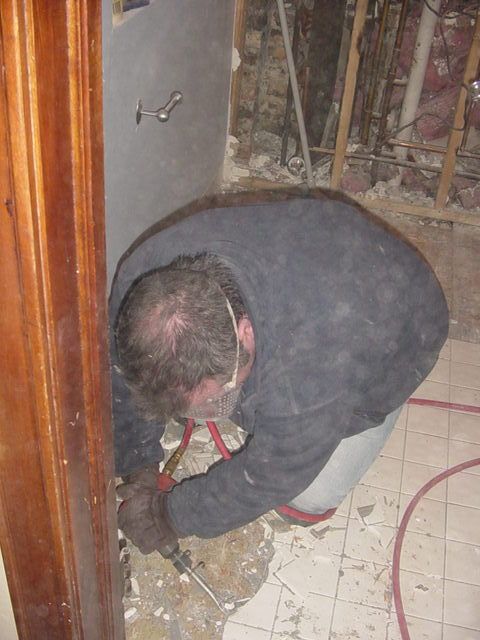
Dust flies everywhere when we use the pneumatic chisel I attached to my nail-gun compressor. That's Amy, the homeowner, taking a crack at the chisel while I (with the kneepads) supervise (AKA rest my tired knees).
Bella is happy now that the noisy part is complete:

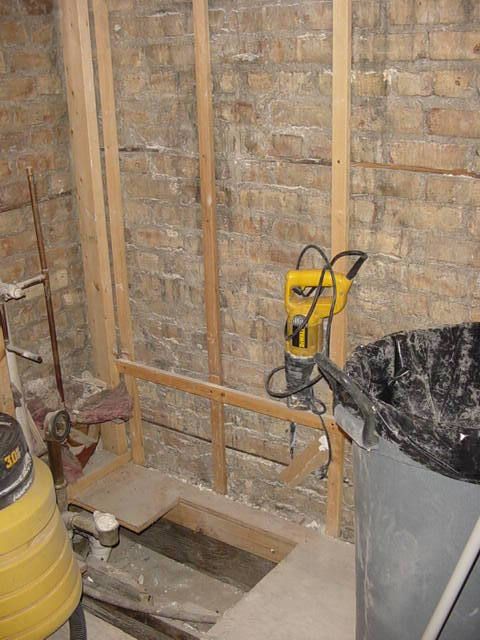
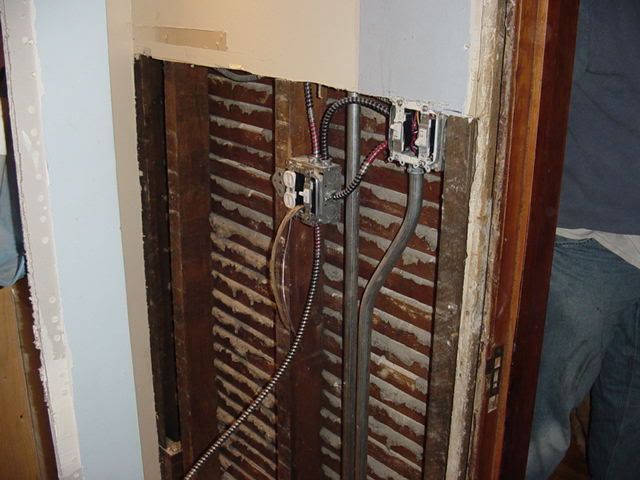
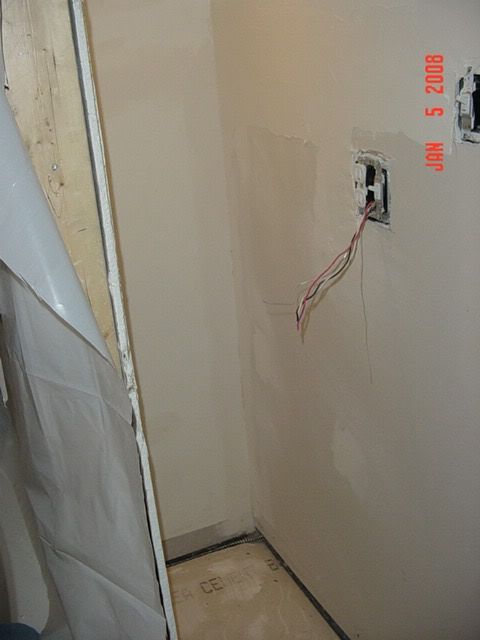
The wall in the linen closet is demo'd to accommodate new electric for the spa-tub and new closet light.
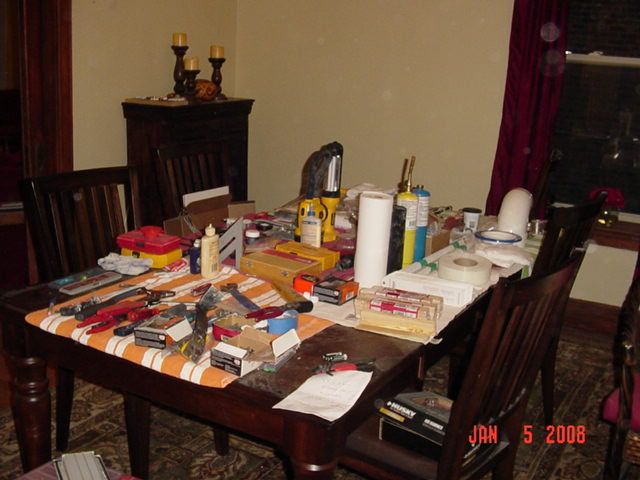
The dining room table gets commandeered for the "surgeons table." I swear, half the time spent on these projects is spent looking for tools.
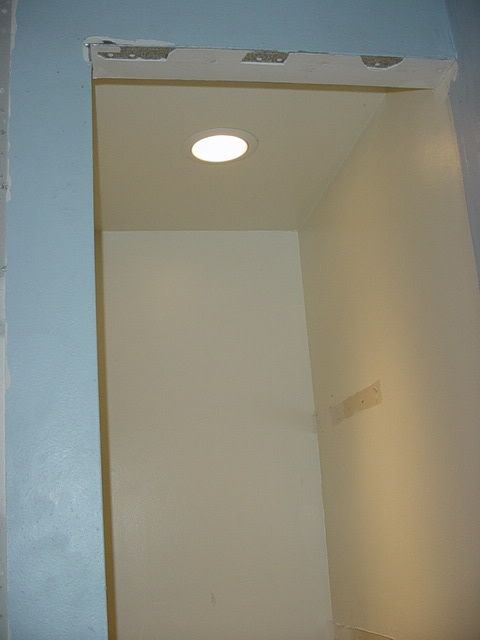
A can light is installed in the old linen closet which will become open storage. We will custom build a base cabinet with pull-out shelves and install glass shelves above the cabinet.
The drywall in the old linen closet gets repaired and a rough/scratch-coat of mud.
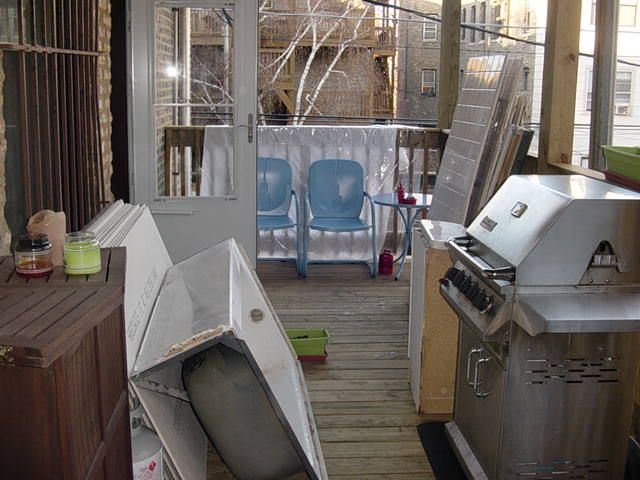
The old steele tub gets ready for the junk collector. I think it lasted 30 seconds in the alley along with the old vanity and sink.
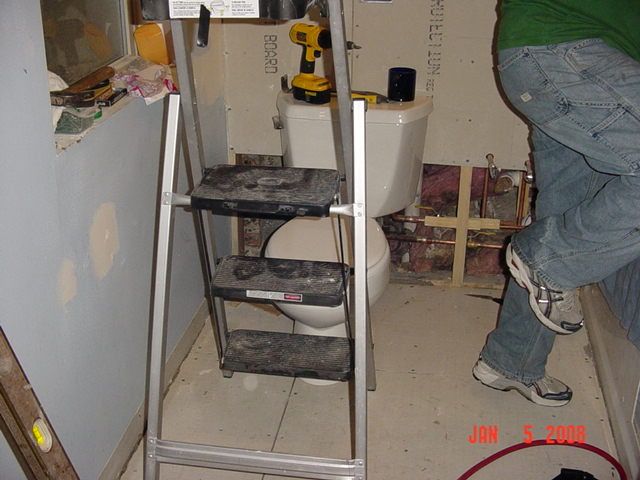
The plumbing is done and the backer-board goes up. The tub is roughed in and the old toilet is temporarily re-installed
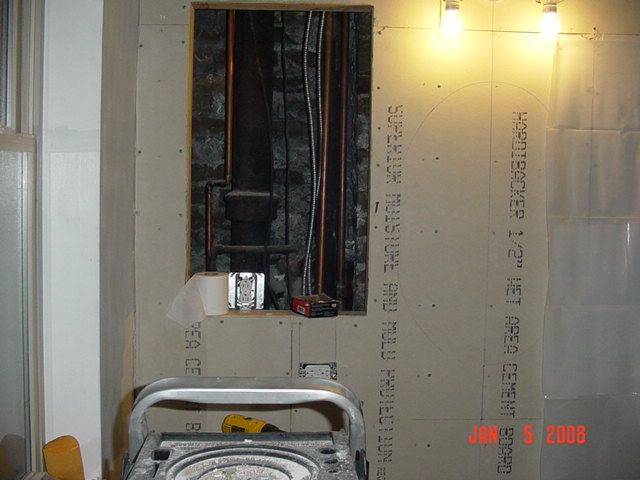
The cut out for the medicine chest we will custom build to fit - it will have an outlet inside for a tooth-brush. There will be an oval mirror under the sconce lights.
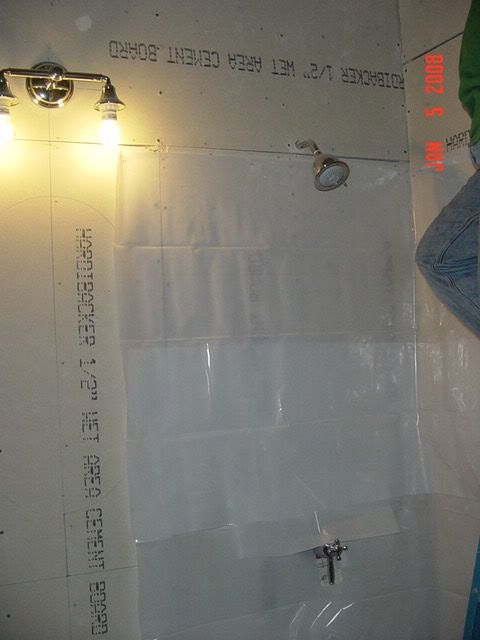
The tub fixtures are installed for temporary use. Of course, Amy pics a tile that will take eight weeks to get. We should have ordered it sooner but I'm kinda happy the plumbing pipes will be exposed and tested prior to final installation of the tile. This way, we are CERTAIN we won't spring a leak after the tile is up - THAT would suck.
We put up another layer of plastic to keep water in the tub and keep soap residue off the backer-board.
UH-OH!
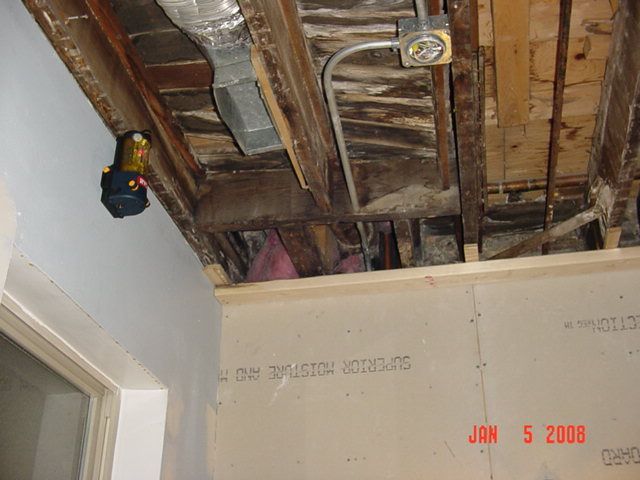
As an after thought, we decide to demo and replace the ceiling. Once we ran the cement board up to the ceiling, we realized it was way out of level. Rather than shim the ceiling to level, the previous builder "bent" the drywall to fit the contour of the crooked ceiling joists. That's Ok when all you are doing is drywall but tile run all the way to the ceiling will expose all the flaws.
The ceiling gets demo'd..........more mess! 100 years of various water leaks are evident on the joists. The joists are in good shape. As far as we can tell, there are no current leaks. You can see the water stains on the newer plywood near the upstairs neighbor's tub - that plywood should be about 12 years old from the developer's half-assed "rehab/conversion.". Those stains are most likely from tub spillage etc. That's why it is important to use water resistant substrates like backer-board. The tile in these units were laid on plywood only - this WILL eventually fail....I'm surprised it held up this long.
Off to Home Depot to pick up one of those Ryobi laser levels. For about 70 bucks, it's a great tool for the job.
BRING IN THA LASA!!!! /Frau Farbissina voice..........Amy checks THE LASA!!! The rule on the job-site is you can't ever say "laser." You have to say "LASAA!!!"
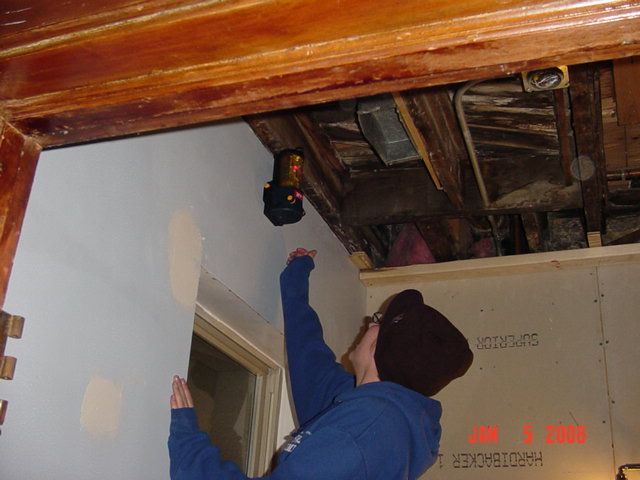

The boyfriend checks the progress for level. Notice the shoddy workmanship in the upstairs neighbors floor. That white you can see is the styrofoam sound dampener of the neighbor's bath-tub - it's not very well supported. If you look closely, you can see the mess of shims they put in - I swear they used a piece of tree branch for a shim.
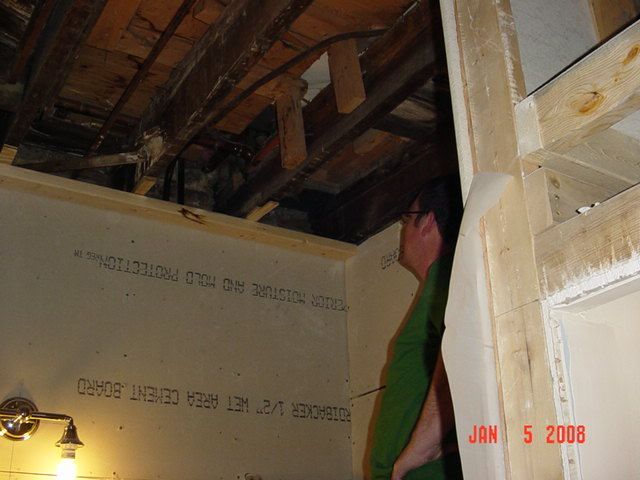
The ceiling gets re-framed all nice and level. The boyfriend on the screw-gun.
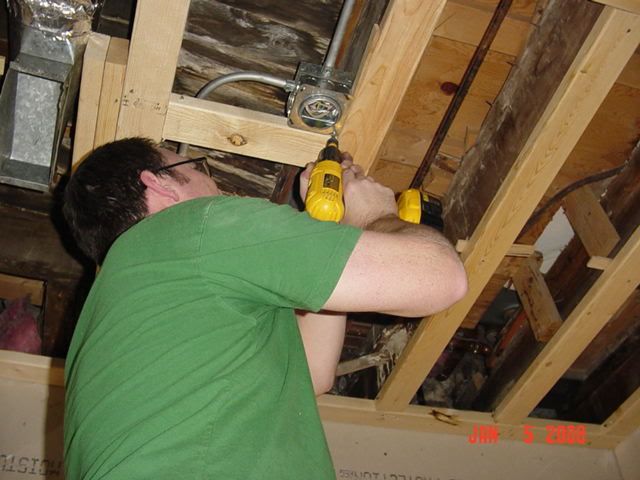
The drywall goes back up on the ceiling.
