I have a much better idea where this is going now. That certainly helps. I finally convinced my wife I did not have the skills or talent to do the intricate airbrush work she wants. I think she may try to do the artwork herself or find someone else to do it. From my point of view then things got a got a lot simpler. I'll shoot something within my limited ability and life will be good until the winter. Over the winter the custom paint I shoot now will come back off and we'll head back to a basecoat for her to cover with anything she wants as long as its compatible with some kind of clear coat. Remember, I have a sealer that will allow her or someone else to paint it with water colors if they want to. Then it can come back to me to seal it and make it shiney. This I can do.
Back to where we are. Not much further actually. I shot dark basecoat and sanded and then shot more basecoat and sanded and so on until I had a completely unbroken coat of the stuff, then I shot 3 more coats. The original base I had put on there was light colored, much different stuff. The dark stuff was thick as mud and I really had to open up the gun (1.2mm tip) to get it to squirt out even after I reduced it to the maximum (25%v) the tech sheets recommend.
I've been using a hair dryer to flash it right after each coat. Maybe I should explain 'coat' in the context of this stuff too. The tech sheets are adamant about light coats for this paint. I found out why yesterday but I'll get back to that. So when I say I shot on a coat of paint what I generally really mean is that I shot on 3 coats of paint to get full coverage. You mist this stuff on like it was an indicator coat, let it dry, and then go back and do it again. Because its water-based there is no real 'flash' time on it and the stuff can sit in the gun for a week as long as you blow a bunch of air through it to get all the paint out of the passages when you stop shooting. Needless to say I don't actually do that. I am meticulous about cleaning the gun immediately after each use.
So I got the base coat on and sanded with 1,000 grit yesterday. Everything looked fine.
In the meantime I have been playing with a couple of test panels, painting some real-fire on them and trying to become more proficient with the airbrush. I had taped off a section of panel (sides panels off an old riding lawn mower) to the shape of the top of the tank we have so as to try to start getting a sense of proportion for what is comming. So I painted on it for a couple of days. I put on a bunch of flames, then put on a bunch of lightening strikes, and then put on a bunch of candy blue over a silver flake base, and then just kept crapping around with this and that. I was careful to make sure I stuck with the tech sheet recommendations for prep and drying and reduction and all of that. This was as much a test of the paint as it was of any little ability I might have. When I pulled up the tape it took a lot of paint with it. Lesson learned. By looking at which coats peeled up and which didn't I realized I had been putting it on too thick and even though I thought I had it dry it really wasn't dry enough. Like I said, lesson learned.
So this morning I shot on the first of the color. Now this isn't saying much because the first color is simply black. In the last 8 hours I've poured on 6 coats of transparent black. I hit it with an ultrafine skuff pad after coat 3 and let it set in the sun for a couple of hours. Its back out in the sun right now as you will see in the two bottom pictures.
So here is the tale in pictures.
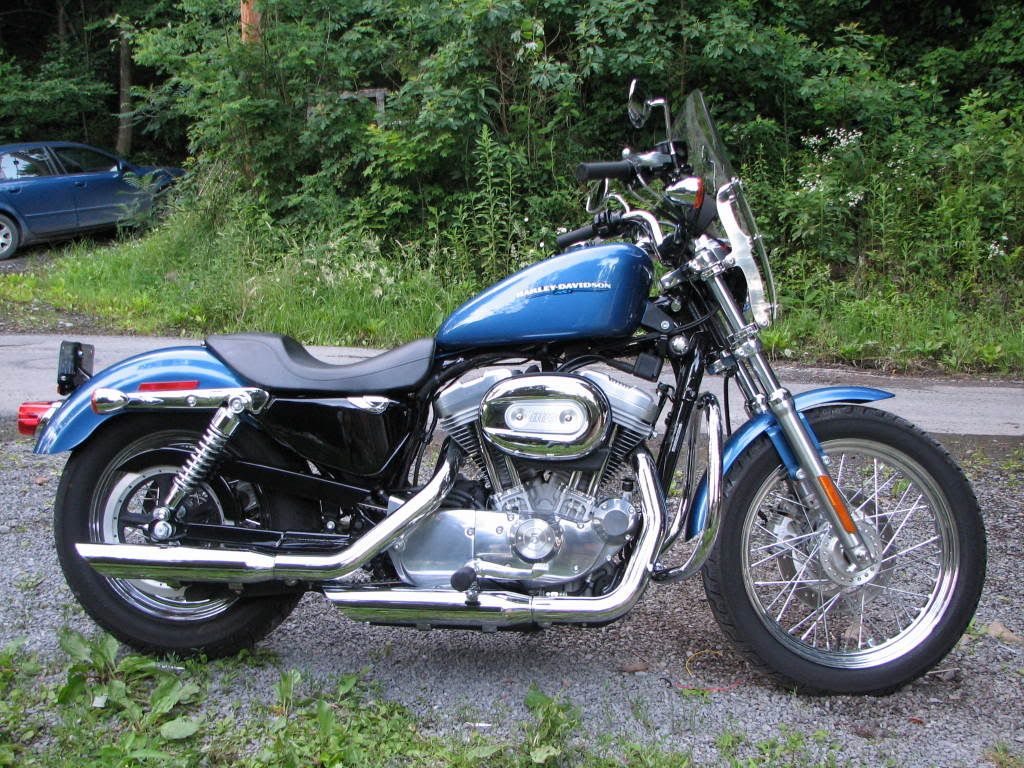
First how the bike looks now:

As you can see the new tank is a much different shape:

Here's the main dent:

Here it is in light base on top of epoxy primer, and now the real work begins:

In light base after fixing the various imperfections. (P.S. note the flush gas cap we picked up for it)

As it sits today in the sun drying with transparent black over dark base. This is the underpinning for everything that will follow:

